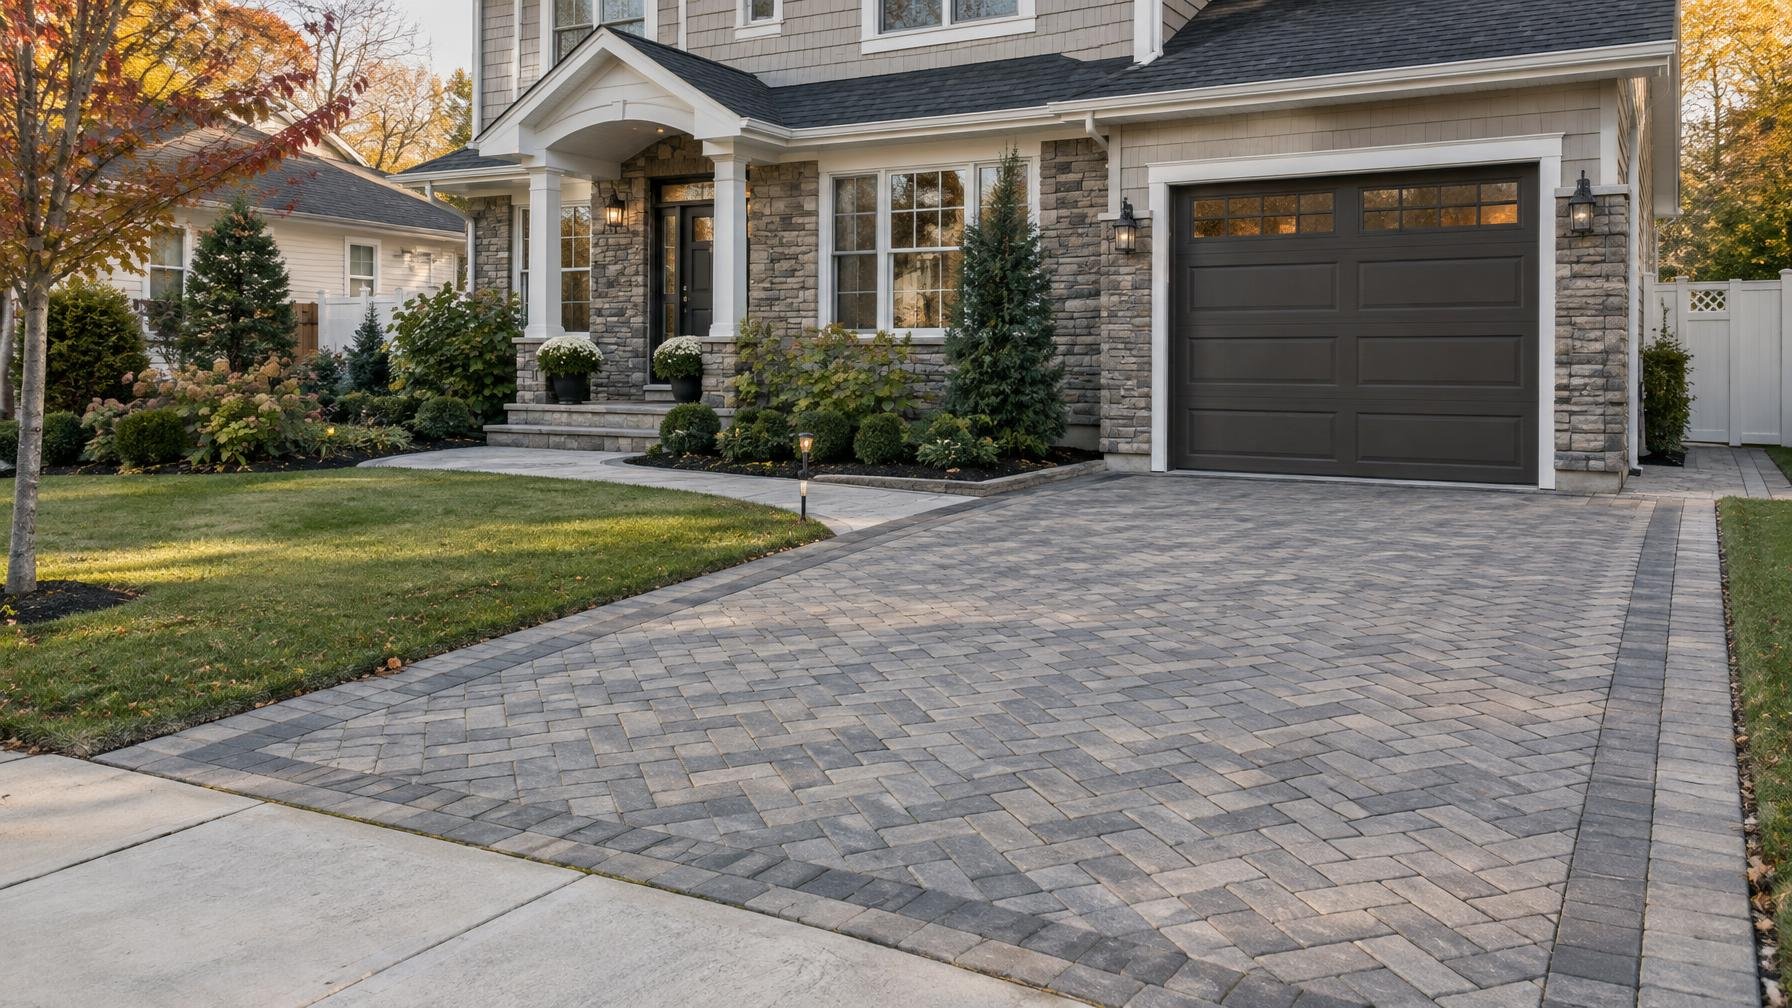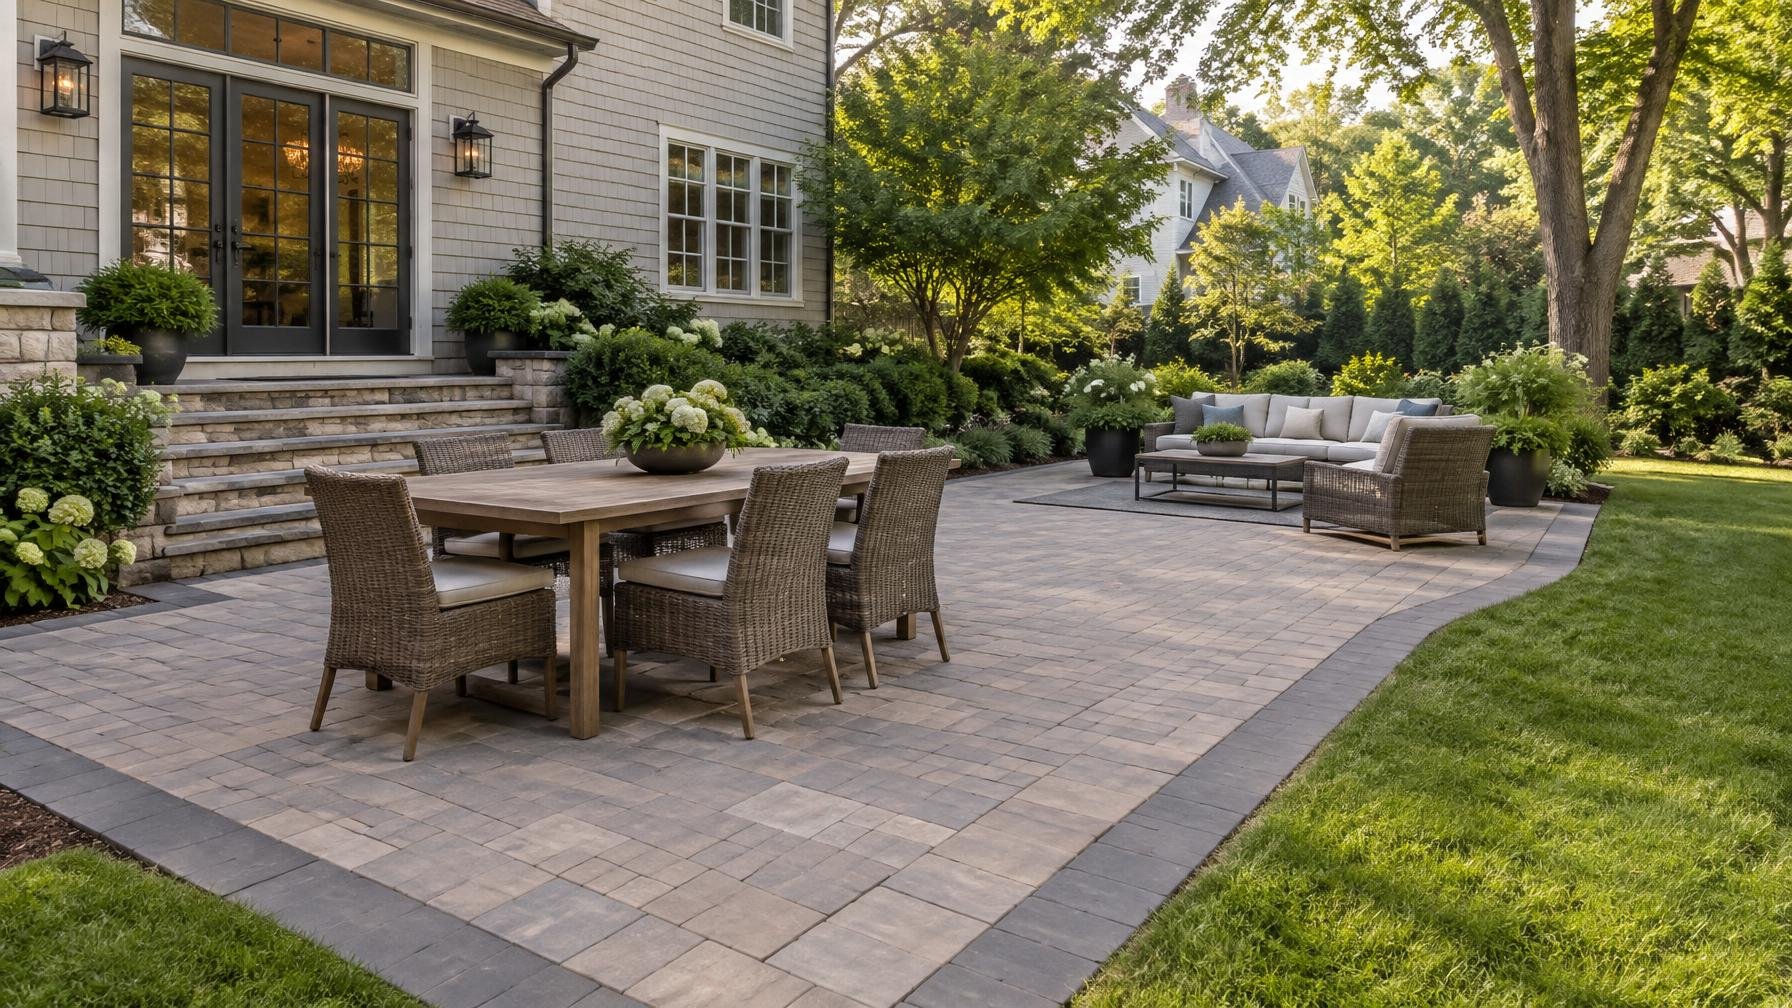
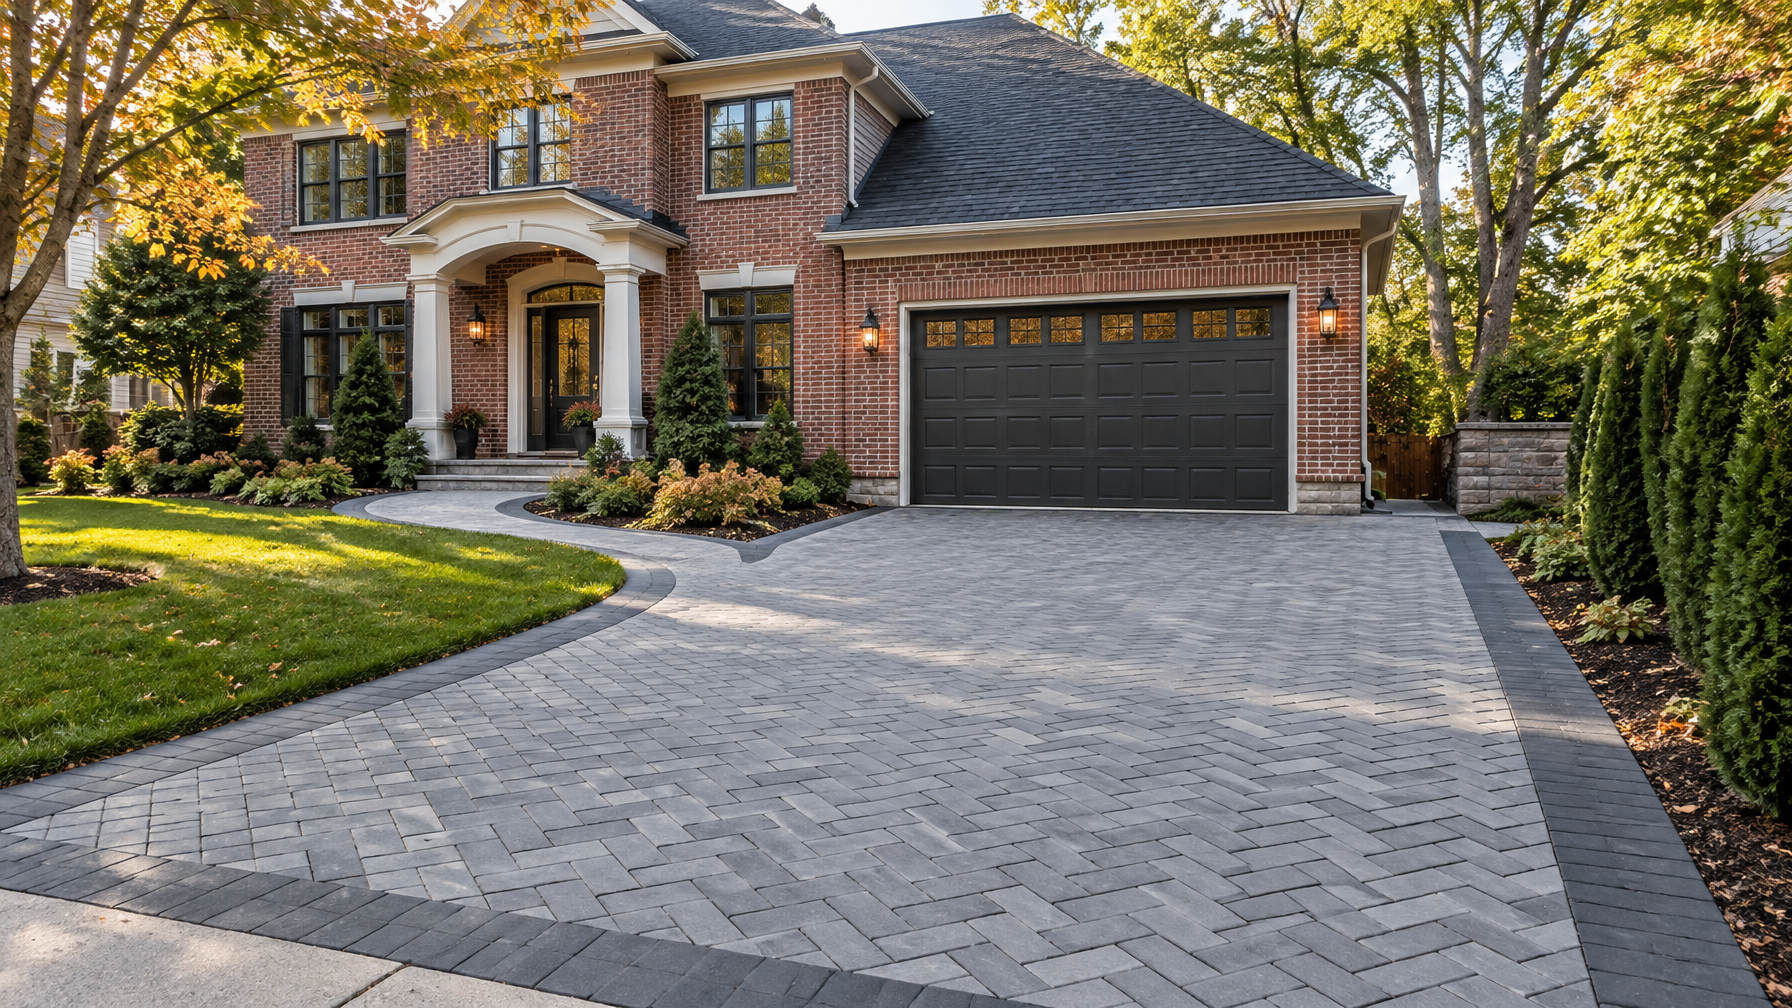
Concrete paver installation on Long Island starts with choosing a system that fits how you use the space—not just a color or pattern. A driveway needs support for vehicle loads, while a patio or walkway needs comfortable access, stable edges and a drainage plan that works with the house and surrounding yard.
StoneSky Pavers & Masonry installs concrete pavers across Long Island, Nassau County and Queens, with free on-site estimates to review the property and project scope.
Match the Paver Installation to the Space
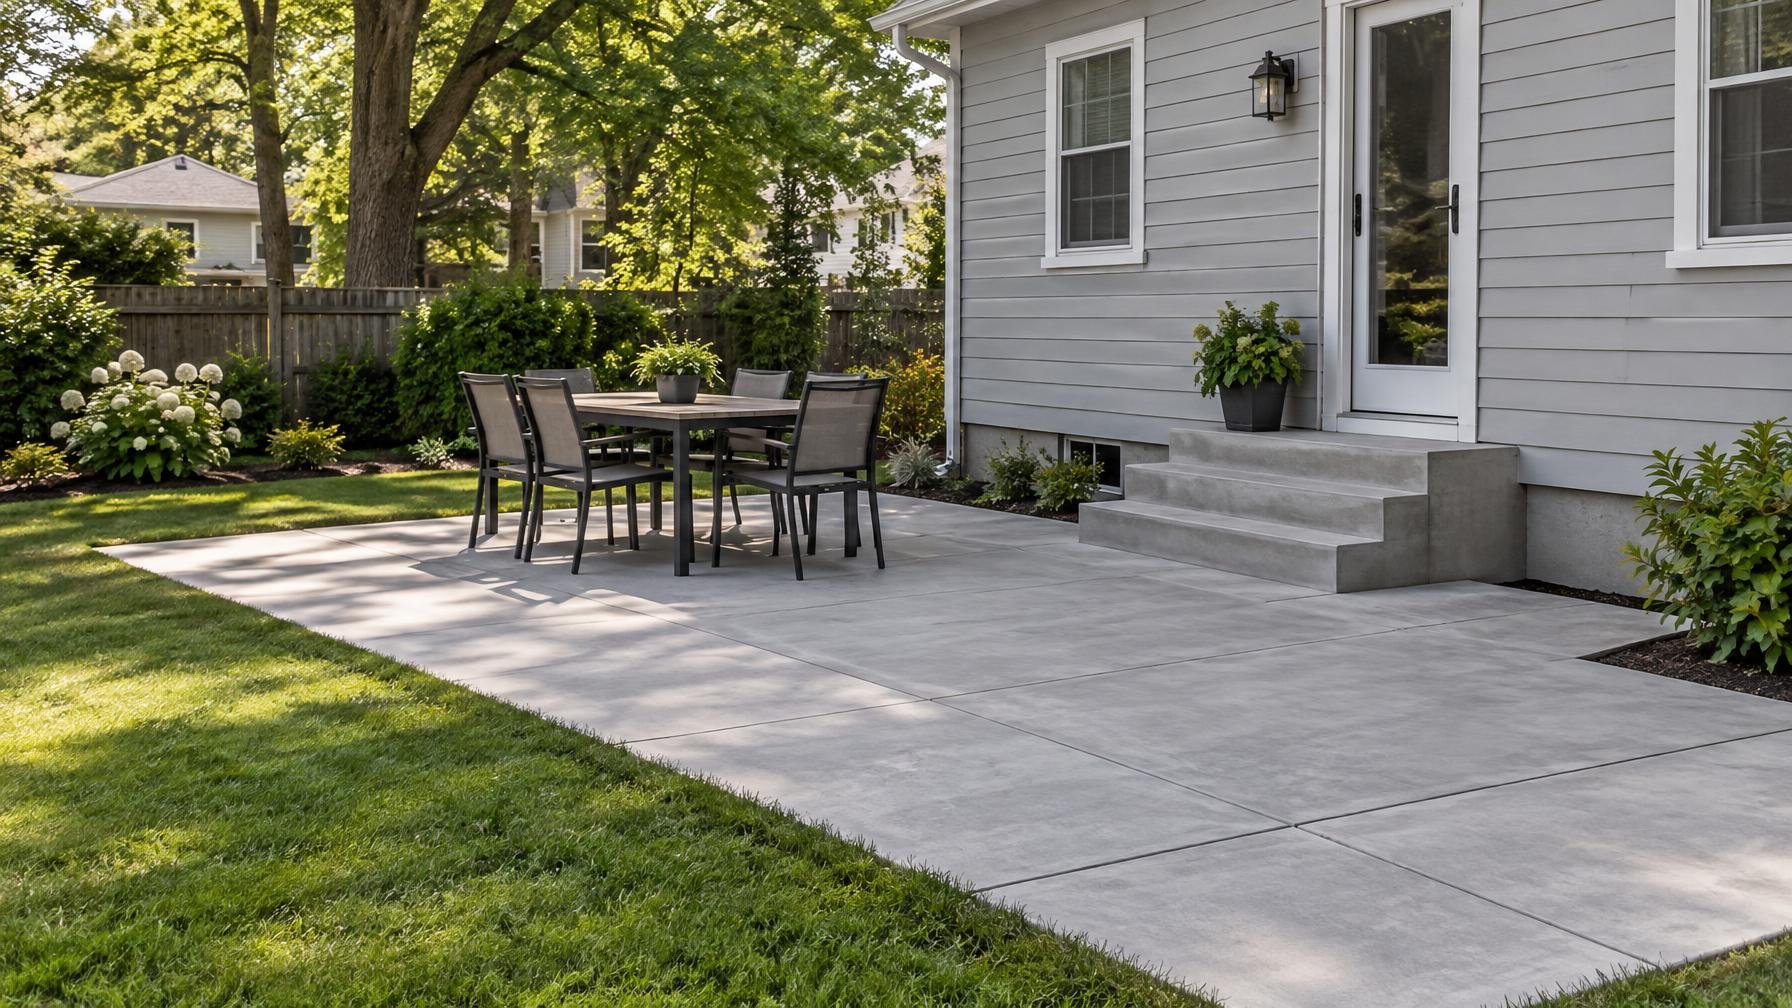
Concrete pavers are individual manufactured units installed as a connected pavement surface. Unlike poured concrete, they have joints between units, and individual pieces can often be lifted for localized repairs. Their performance still depends on the support beneath them and the restraint around them.
Driveways: plan for turning and repeated loads
A driveway takes more than the weight of parked cars. Turning tires, delivery vehicles and repeated travel over the same wheel paths place stress on the surface. Paver thickness, unit size, laying pattern and base design should all suit the expected traffic.
For a paver driveway, identify where vehicles turn, where doors open and how the driveway meets the garage, sidewalk and street. A decorative border should not leave an unsupported strip at the edge or create an awkward transition across a walking route.
Patios and backyards: start with furniture and access
Lay out the dining table, chairs and main walking routes before deciding on patio dimensions. Leave room to pull chairs out without blocking the back door. In a compact Nassau County backyard, a simple rectangular layout can provide more usable space than several small areas connected by narrow paths.
Walkways and entrances: check every transition
Walkways should connect naturally to doors, gates and parking areas. At a front stoop, changing the pavement height can affect the bottom step. Review that transition before installation so the finished pavers do not create an inconsistent step or cover materials that should remain exposed.
Evaluate the Property Before Choosing Materials
Two properties in Levittown or Garden City can need different preparation even when the planned patios look similar. Existing fill, old pavement, tree roots, downspout discharge and changes made by previous owners can all affect the work.
- Look for standing water: Note puddles after rain and how long they remain.
- Check fixed elevations: Door thresholds, garage floors, steps and adjoining walks limit where the new surface can sit.
- Identify access restrictions: Side gates, fences and narrow passages affect excavation and material delivery.
- Flag buried features: Irrigation lines, utilities and other underground installations need attention before digging.
- Review nearby trees: Roots can affect pavement, but cutting roots without proper assessment can harm tree health and stability.
Bring photos of wet-weather conditions to the estimate. They can reveal a drainage problem that is not visible during a dry afternoon visit.
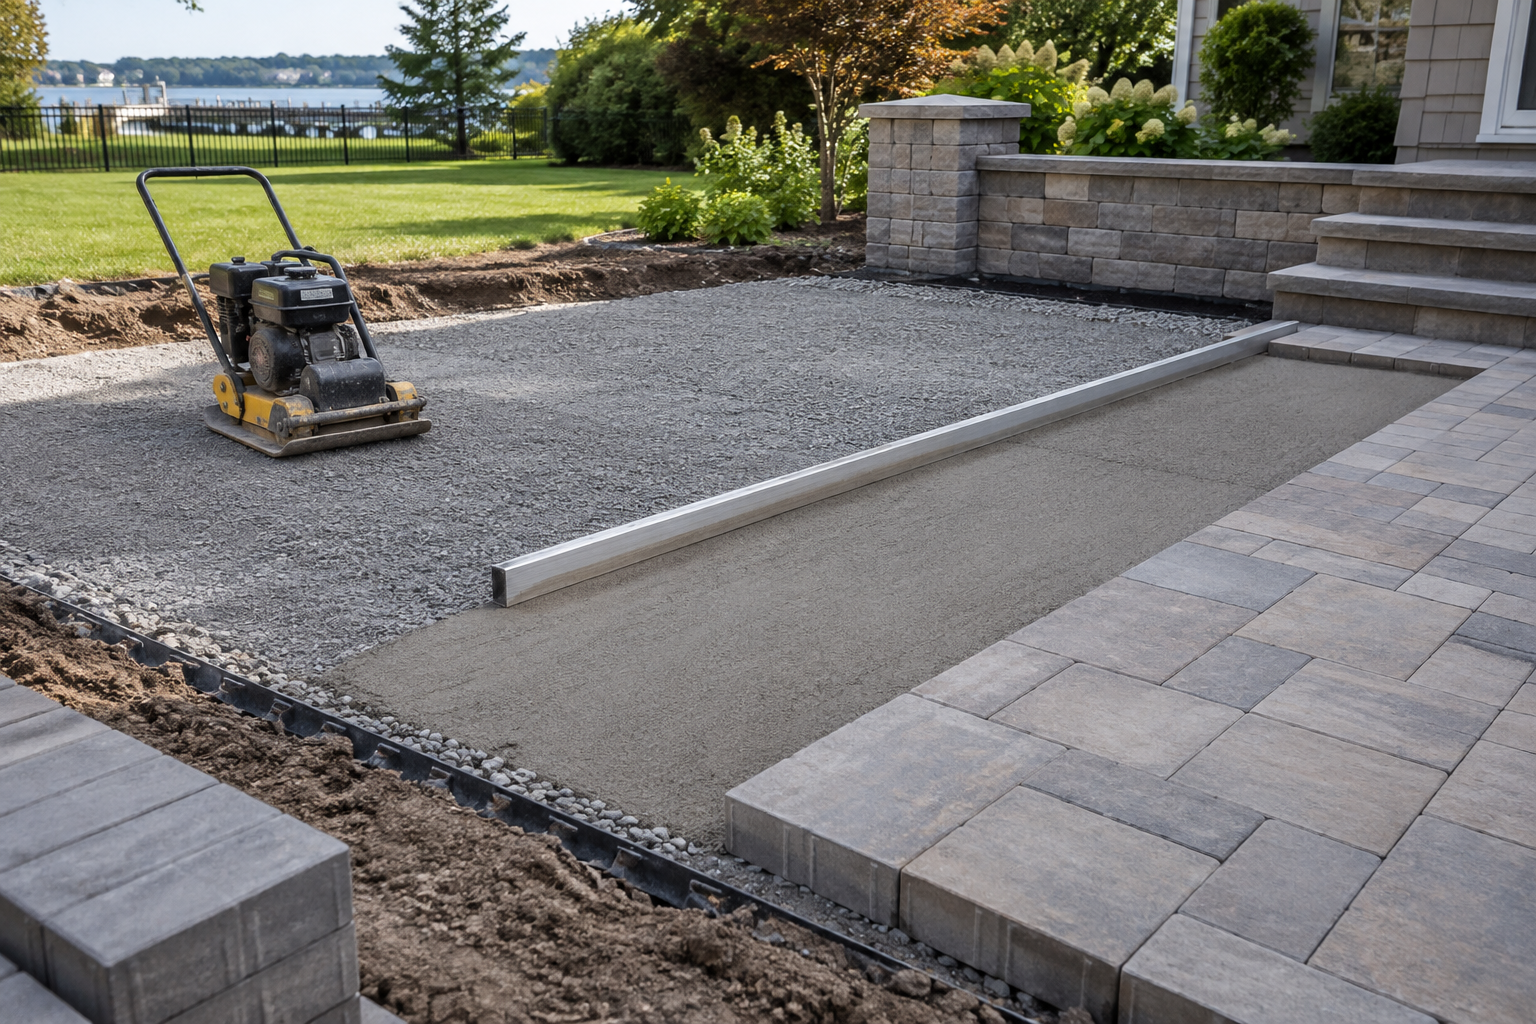
What Goes Beneath Concrete Pavers Matters Most
A good-looking installation can still settle if the underlying preparation is wrong. The appropriate construction detail depends on soil conditions, expected loads and the selected paving system. Avoid treating one base depth as suitable for every Long Island driveway, walkway and patio.
Excavation and subgrade preparation
Preparation begins by removing existing materials and excavating enough space for the planned assembly. Organic soil, soft spots and unsuitable fill should not simply be buried under the new pavement. The underlying soil needs to be evaluated and prepared before base material is added.
Ask how unexpected conditions will be handled. Discovering a weak area beneath an old driveway is different from making a cosmetic change at the surface, and it may change the preparation needed.
Base placement and compaction
The base distributes loads and provides stable support. Suitable aggregate should be placed and compacted in controlled layers rather than dumped into one deep lift. Material selection and separation fabric, where appropriate, should match the soil and pavement design.
The bedding layer above the base provides an even setting surface for the pavers. It should not be used to disguise large dips in an improperly graded base. The supporting layers need to establish the planned shape and elevations first.
Edges, joints and final installation
Edge restraints help prevent the pavers from spreading under traffic. Joint material helps stabilize the assembled surface, but it is not a substitute for a sound base or secure perimeter. Joint filling and final compaction should follow the requirements of the pavers and jointing product.
For an overview of available applications, explore StoneSky’s concrete paver services. During the estimate, ask which installation approach suits your property and why.
Plan Drainage for Long Island Rain and Winter Weather
Long Island’s rain, snowmelt and freeze-thaw cycles make water management a core part of the installation. Water collecting near a foundation, at the foot of steps or in a driveway wheel path is more than an appearance issue. It can contribute to icing, erosion and movement.
The finished surface should have a deliberate drainage direction coordinated with the building and surrounding grades. Avoid solving a backyard puddle by sending runoff toward a neighbor’s property or creating a new collection point at the sidewalk.
Review downspouts as part of the layout. A concentrated roof discharge can overwhelm a small low spot or disturb joints. Adding pavement also changes how much yard remains available to absorb rainfall, so a larger patio may need more drainage consideration than the smaller slab it replaces.
Standard concrete pavers are not automatically a permeable pavement system. A permeable installation uses compatible units, open joints and a purpose-designed aggregate structure. Its suitability depends on site conditions and local requirements; ordinary pavers with sand-filled joints should not be assumed to provide the same stormwater performance.
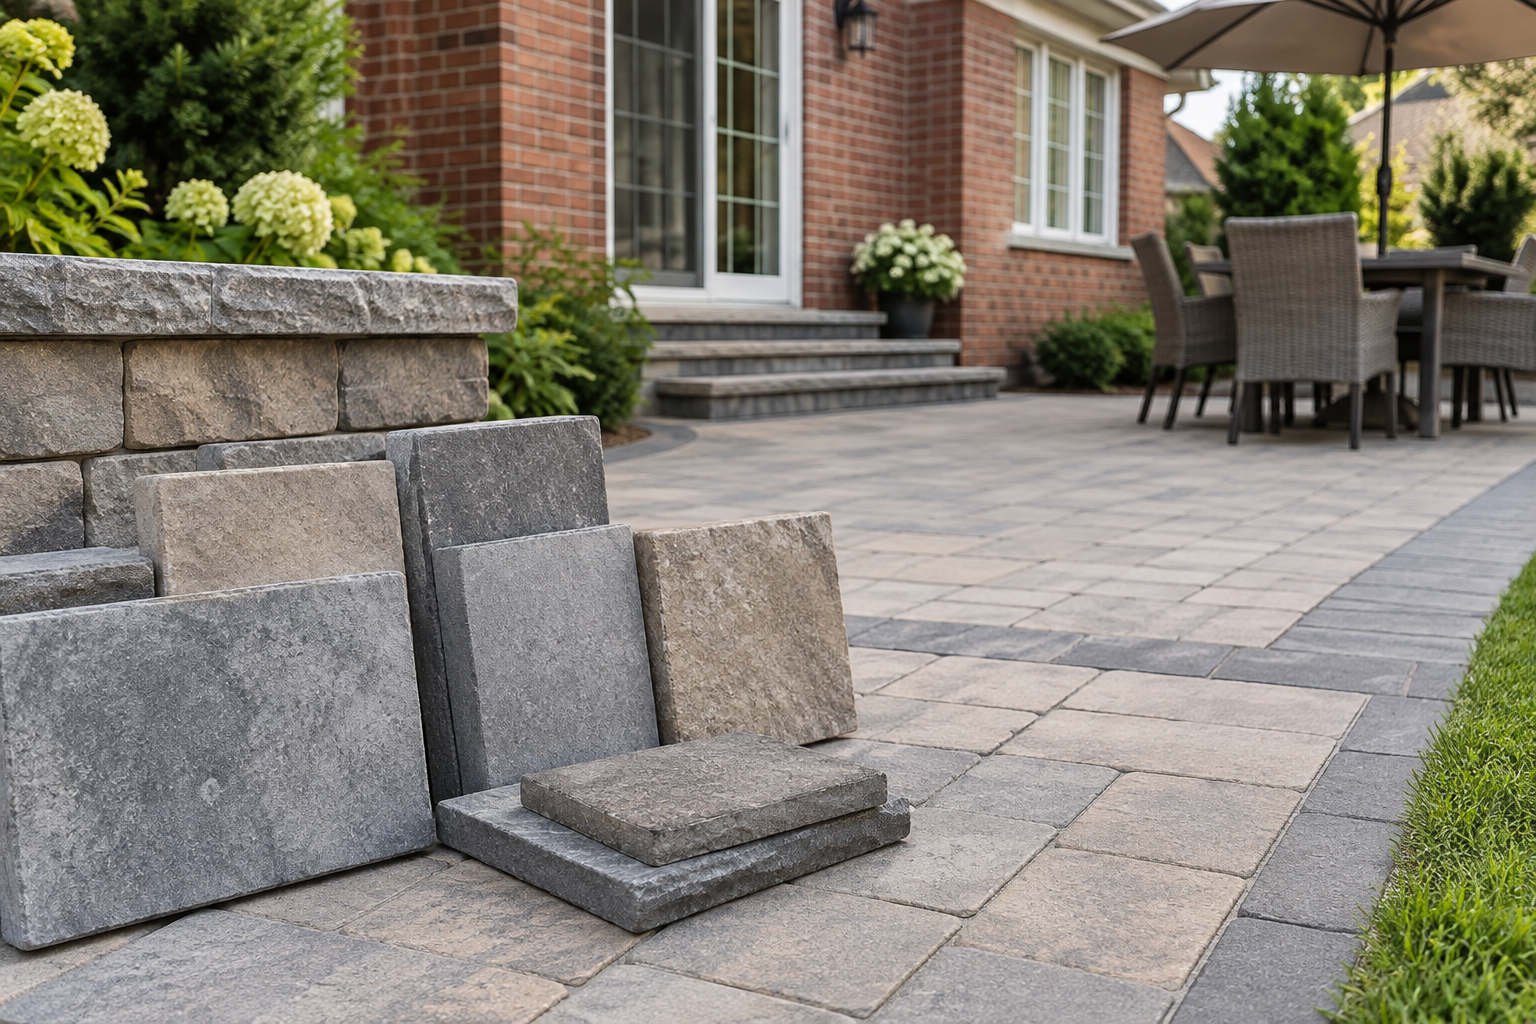
Choose Pavers for Function, Then Appearance
Concrete pavers come in different shapes, textures and color blends. Narrow the selection to products suitable for the intended use before comparing their appearance. A large-format unit that works on a pedestrian patio may not be appropriate for a driveway.
- Surface texture: Consider wet-weather footing at entrances and around pools. No surface should be treated as slip-proof.
- Color: View samples outdoors against the house, steps and existing masonry. Wet pavers can look noticeably different from dry ones.
- Pattern: For vehicle areas, discuss a pattern suited to turning forces, such as a properly specified herringbone layout.
- Borders: Use them to define edges without adding unnecessary cuts or overly busy detailing.
- Replacement pieces: Ask about keeping spare units for future localized repairs, especially with blended colors.
A restrained layout often works well beside brick homes and established landscaping in communities such as Manhasset and Syosset. The goal is a surface that fits the property rather than competing with every other exterior finish.
Check Local Requirements Before Work Starts
Requirements vary across Long Island’s towns and incorporated villages. Confirm whether the scope requires approvals, especially when changing driveway dimensions, modifying a curb opening or working near a public sidewalk. Do not assume that replacing existing pavement and expanding it follow the same rules.
For Queens properties, check the applicable New York City requirements rather than relying on guidance for Nassau or Suffolk County. Property boundaries, drainage restrictions and permitted paved coverage may also affect the layout. Clarify who will verify requirements and handle any necessary approvals before scheduling construction.
Know When Repair Makes More Sense Than Replacement
If you already have concrete pavers, a full replacement may not be necessary. A localized depression, loose edge or uneven section can sometimes be addressed by lifting the affected units, correcting the underlying problem and resetting them.
Widespread settlement, recurring drainage problems or badly deteriorated units may call for a broader approach. StoneSky offers paver repair and resetting, so the estimate can consider the condition of the existing pavement rather than assuming every project needs new materials throughout.
Maintain the Finished Surface
Keep leaves and soil from building up along edges and in joints. Address stains promptly with products compatible with the pavers, and avoid aggressive pressure washing that can remove joint material or damage the finish. After winter, look for rocking units, washed-out joints and new low spots.
Sealing is a separate maintenance decision, not a fix for settlement or poor drainage. If you want a sealer, discuss its appearance, compatibility and maintenance needs first. Follow the paver manufacturer’s guidance for deicing products, and use snow-removal equipment carefully to reduce scraping and edge damage.
Request a Free On-Site Estimate
Planning a driveway, patio, walkway or backyard concrete paver installation? StoneSky Pavers & Masonry serves Queens, Nassau County and Long Island, including Hicksville, Massapequa, Huntington and surrounding service areas.
Request a free on-site estimate or call (929) 528-1205. Have your project location, intended use and any drainage concerns ready so the visit can focus on the right layout and preparation for your property.
Frequently Asked Questions
How deep should the base be for concrete pavers on Long Island?
There is no single base depth that fits every project. Soil conditions, expected traffic, drainage and the selected paving system determine the preparation needed. A vehicle driveway generally requires a different support design than a pedestrian patio.
Can concrete pavers be installed over an existing concrete slab?
An overlay may be possible in some situations, but the slab’s condition, drainage and available height must be evaluated first. Raising the surface can interfere with door thresholds, steps and adjacent walks. A cracked or moving slab should not simply be covered without addressing the cause.
Do concrete pavers need to be sealed?
Sealing is not automatically required for every installation. The decision depends on the product, desired appearance and maintenance preferences. A compatible sealer may help with stain resistance, but it does not correct loose pavers, settlement or drainage problems.
Do I need a permit for a paver driveway on Long Island?
Requirements depend on the town or incorporated village and the scope of work. Changes to driveway size, curb openings, drainage or public sidewalks may require review or approvals. Confirm the applicable requirements before work begins.
Can sunken concrete pavers be repaired without replacing the entire surface?
Often, localized sunken areas can be lifted and reset after the underlying cause is corrected. Widespread movement or damaged materials may require more extensive work. StoneSky offers paver repair and resetting along with free on-site estimates.